Ever had that moment when your bangs are just a little too long, but the idea of heading to the salon feels like overkill? Trimming your own bangs can seem as nerve-wracking as giving yourself a tiny makeover with no backup. But guess what? With a bit of guidance, it’s actually easier than you think! Think of it like giving your favorite houseplant a little trim—it’s delicate, but totally doable with a steady hand. So, why not save a trip and learn how to keep those bangs fresh at home?
Preparation Before Trimming
Before you jump in, it’s important to prepare properly. Imagine trying to bake a cake without gathering all the ingredients first—it wouldn’t go too well, would it? The same goes for trimming your bangs. You’ll need a few simple tools to make the process smooth and easy. Here’s what you’ll need:
- Sharp scissors: This is non-negotiable. Dull scissors can make your bangs look choppy and uneven, like tearing paper instead of cutting it. Ideally, use hair-cutting scissors, but any sharp, small pair will work in a pinch.
- A fine-tooth comb: You’ll want to separate your bangs from the rest of your hair to avoid accidental snips where they don’t belong.
- Sectioning clips: These help keep the rest of your hair out of the way. We don’t want any mishaps while you’re focused on your bangs!
- Mirror and good lighting: Make sure you can clearly see what you’re doing. Natural light is the best for catching any uneven spots.
Before trimming, it’s essential to wash and dry your hair. Wet hair tends to shrink when it dries, meaning you might cut off more than you intended. Dry hair shows you exactly how much you’re trimming, leaving no room for surprises. Imagine trying to cut wrapping paper with a blindfold on—that’s what cutting wet bangs can feel like. So, save yourself the stress and make sure your hair is completely dry.
Understanding Your Bang Style
Next, you need to understand what kind of bangs you have. Just like how different shoes require different kinds of polish, various bangs need different cutting techniques. Are your bangs blunt? Side-swept? Or perhaps they fall into the trending curtain bang category?
- Blunt bangs: These sit straight across your forehead, requiring a straight, even trim.
- Side-swept bangs: These are cut at an angle, usually falling to one side of the face.
- Curtain bangs: These part in the middle, softly framing your face.
Knowing your bang type is key to getting the right cut. If you’re unsure, take a look at some photos of yourself after your last salon visit to recall the exact style. It’s like following a recipe—understanding the desired result ensures you’re on the right track!
Step-by-Step Guide to Trimming
Now, let’s get down to business! Follow these steps to give yourself a fresh, professional-looking trim without the anxiety.
Step 1: Section Your Bangs
First things first, you need to isolate your bangs from the rest of your hair. Use your comb to part your hair and separate the section you want to trim. Clip back any extra hair so it doesn’t sneak into your cutting zone. This is like outlining the area you want to paint before starting, keeping everything neat and controlled.

Step 2: Trim Small Sections at a Time
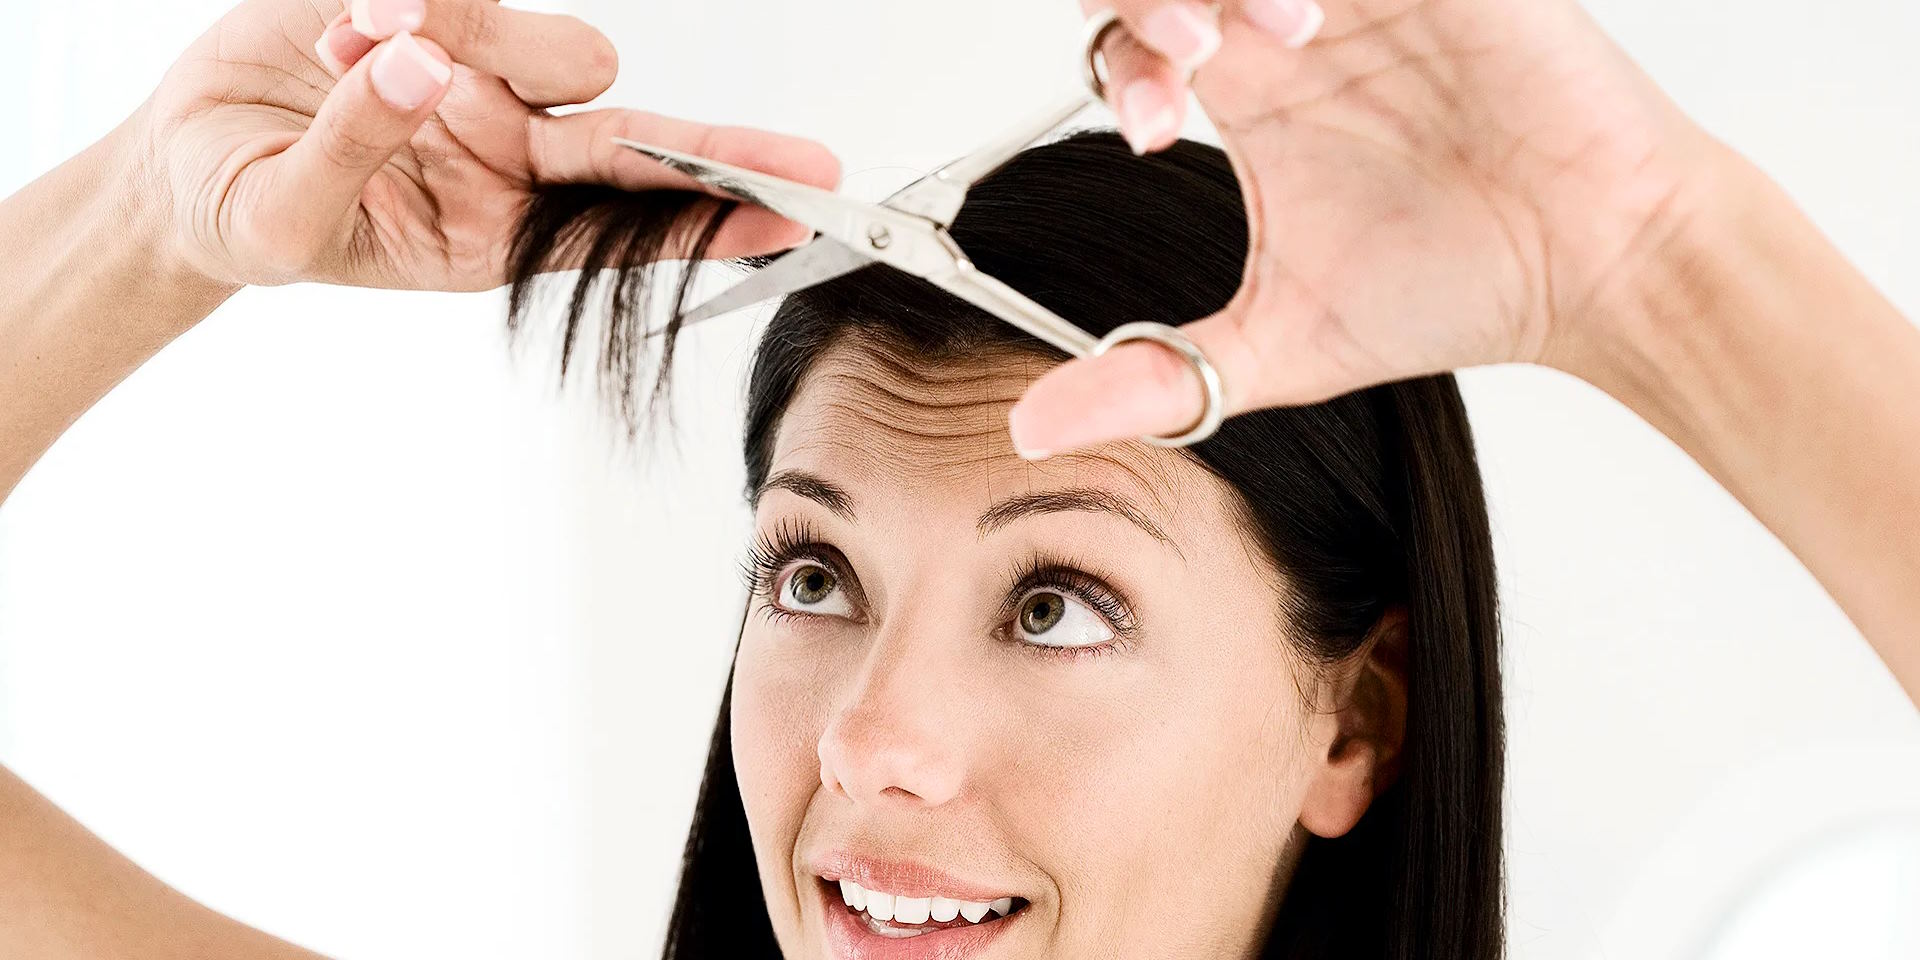
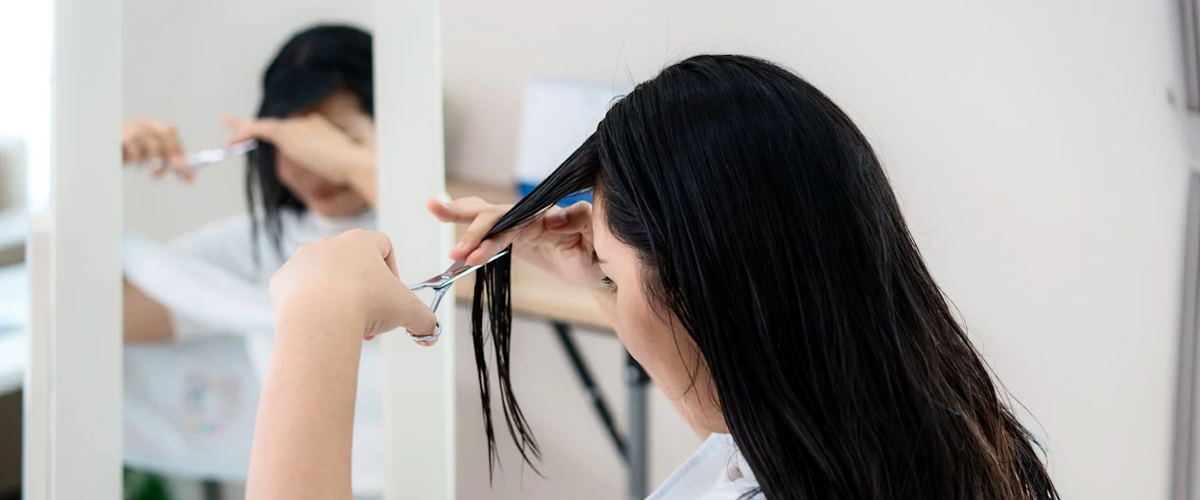
Here’s where most people go wrong—they cut too much at once. Instead, work in small, vertical sections. Take a small portion of your bangs, hold them between your fingers, and point the scissors vertically to the hair. Point cutting is a technique where you snip into the ends of the hair rather than cutting straight across. It helps create a softer, more natural finish. It’s like trimming the edges of a delicate piece of paper—small cuts prevent big mistakes.
Step 3: Check Your Progress Frequently
Snip a little, then step back. Look in the mirror and assess how much you’ve taken off. If you’re happy with the length, stop. If not, take off a little more. Remember, you can always trim more later, but you can’t put the hair back once it’s gone! Think of it like slowly seasoning a dish—you can always add more spice, but it’s much harder to take it away.
Step 4: Finishing Touches
Once you’re happy with the length, check for any uneven spots. Run your fingers through your bangs to see how they fall naturally. If one side is a little longer, don’t panic—just snip lightly to even it out. At this point, it’s all about refining the details, like putting the final touches on a painting.


